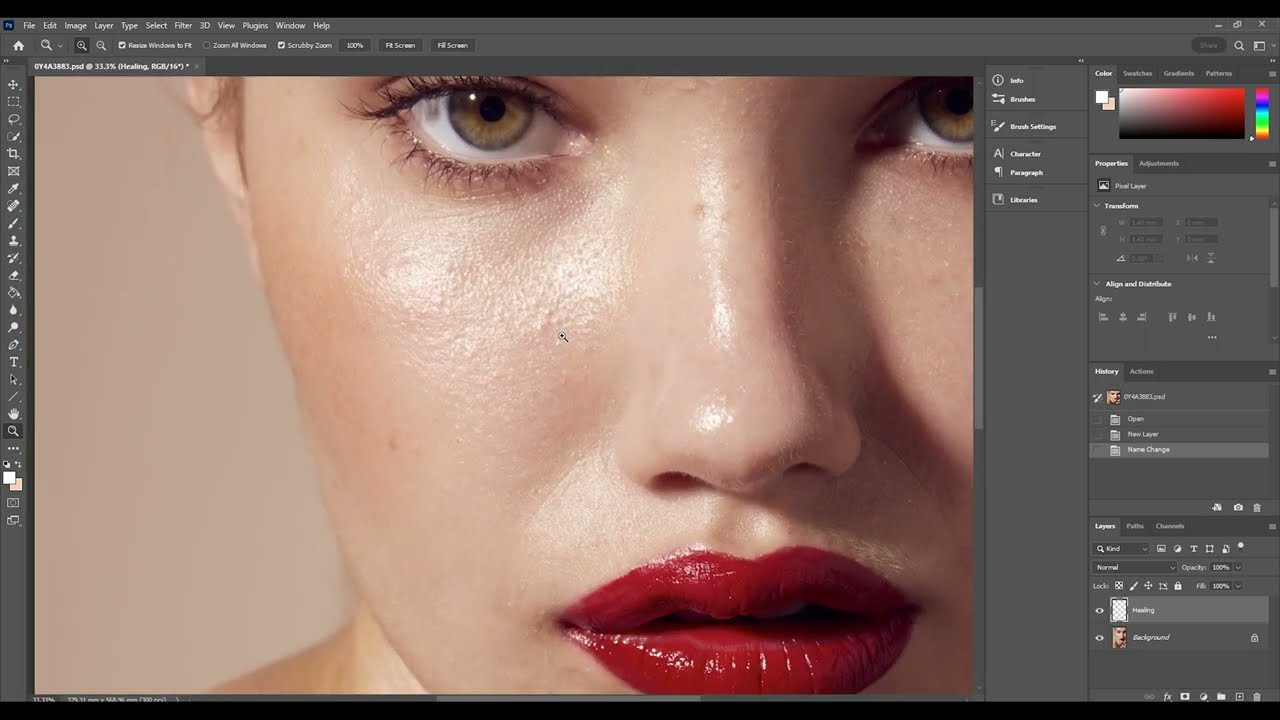
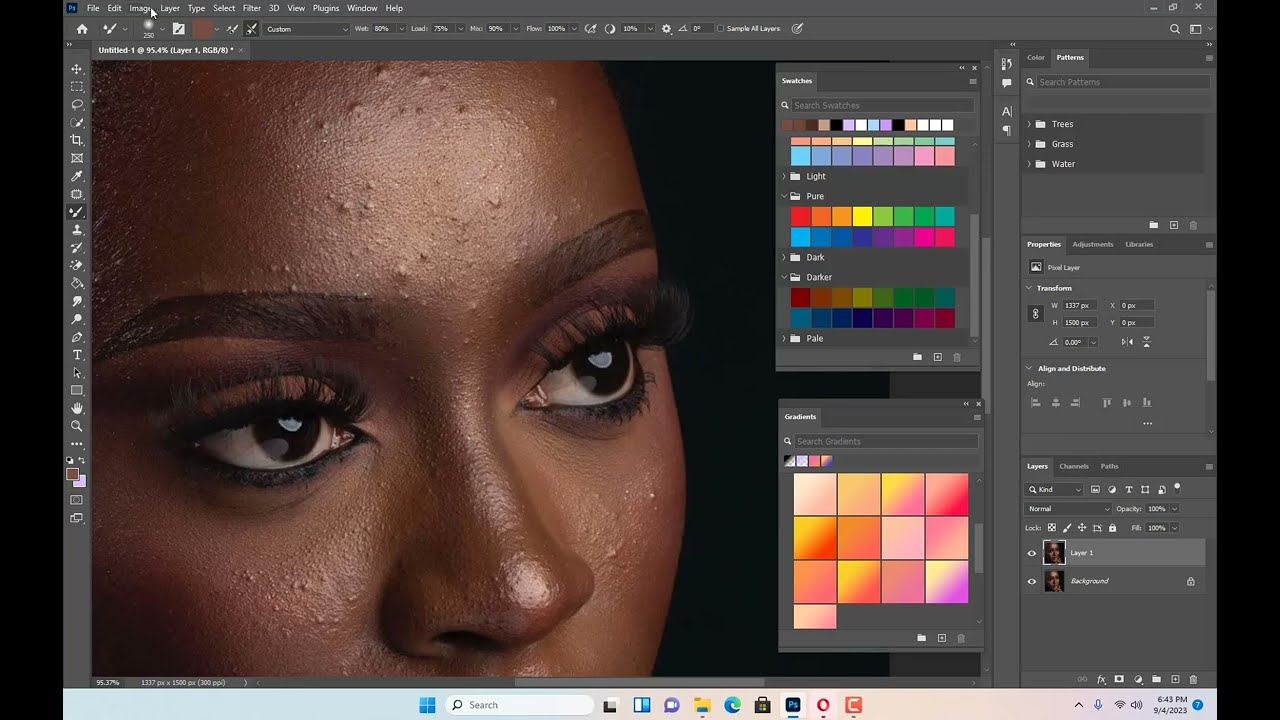
As technology continues to advance, so do the tools and techniques available for photo editing. With the rise of social media and the constant demand for visually stunning images, it’s no surprise that Photoshop retouching has become an essential skill for photographers and graphic designers alike.
While basic retouching techniques can help improve the overall appearance of a photo, advanced retouching takes it to the next level by allowing for more control and creativity. In this blog post, we will dive into the world of advanced retouching techniques in Photoshop and explore how they can elevate your photos to new heights.
Understanding Basic Retouching Techniques
Before jumping into advanced techniques, it’s important to have a solid understanding of the basics. Basic retouching involves correcting minor imperfections in a photo such as blemishes, wrinkles, and stray hairs. These techniques include cloning, healing, and spot healing tools which allow you to cover up or remove unwanted elements from an image.
One of the key principles of basic retouching is to maintain a natural and realistic look. This means being subtle with your edits and not going overboard. One common mistake beginners make is to over-smooth skin, resulting in a plastic-like appearance. It’s important to remember that while some imperfections can be corrected, others are what make a person unique and should be left untouched.
To get familiar with these basic retouching techniques, try following tutorials online or experimenting on your own photos. Practice makes perfect, and once you have a good grasp on the basics, you can move on to more advanced techniques.
Utilizing Advanced Tools in Photoshop

Photoshop offers a wide range of advanced tools that can take your retouching skills to the next level. Let’s take a closer look at some of these tools and how they can be used for advanced retouching.
Frequency Separation
Frequency separation is a technique used to separate the different frequencies of an image, allowing for more precise retouching. It involves separating the colors and texture details of an image onto two different layers. The low-frequency layer contains the colors and overall tone of the image, while the high-frequency layer contains the details and textures.
This technique is especially useful for retouching skin because it allows you to work on each layer separately, making it easier to maintain a natural look. For example, you can use the low-frequency layer to even out skin tone and the high-frequency layer to remove blemishes and wrinkles.
To create a frequency separation effect in Photoshop, follow these steps:
- Duplicate your background layer twice.
- Name one layer “low” and the other “high.”
- With the “low” layer selected, go to Filter > Blur > Gaussian Blur.
- Adjust the radius until the image appears smooth, but not too blurry.
- With the “high” layer selected, go to Image > Apply Image.
- In the dialog box, make sure the source is set to “low” and change the blending mode to “subtract”.
- Click OK and change the blending mode of the “high” layer to “linear light”.
- Use a soft brush with a low opacity on the “low” layer to even out skin tone.
- Use a small brush with a high opacity on the “high” layer to remove blemishes and wrinkles.
Dodge and Burn
Dodge and burn is a technique that involves selectively lightening and darkening certain areas of an image to enhance its overall appearance. This technique can be used for everything from correcting exposure to adding definition and dimension to an image.
To use dodge and burn in your retouching, follow these steps:
- Create a new layer and set the blending mode to “soft light.”
- Use the Dodge tool to lighten areas of the image that need more brightness, such as highlights and shadows.
- Use the Burn tool to darken areas that need more contrast and definition, such as eyes, lips, and hair.
- Adjust the opacity of the layer as needed to achieve a natural look.
Liquify
Liquify is a powerful tool in Photoshop that allows you to manipulate the pixels of an image. It can be used for everything from correcting body proportions to adding volume and definition to hair.
When using the Liquify tool, it’s important to use it subtly and not go overboard. Here are some tips for using the Liquify tool effectively:
- Start with a small brush size and gradually increase it as needed.
- Use a low pressure and work slowly to avoid creating distortions.
- Avoid making drastic changes that will appear unnatural.
- Use the reconstruct tool to fix any mistakes or distortions.
Mastering Skin Retouching

Skin retouching is often the most difficult aspect of photo editing. There’s a fine line between enhancing someone’s appearance and completely altering it. Advanced retouching techniques can make this process easier and allow for more control over the final result.
Dealing with Wrinkles
Wrinkles are a natural part of aging, but they can also be a source of insecurity for some people. In advanced retouching, there are multiple ways to deal with wrinkles depending on their severity.
For fine lines and wrinkles, the clone stamp tool can be used to fill them in with surrounding skin texture. The clone stamp tool copies pixels from one area and pastes them onto another. This technique is effective for subtle touch-ups, but it can be time-consuming for larger areas.
For deeper wrinkles, the healing brush tool is a better option. This tool blends the texture around the wrinkle to create a smoother appearance. Just like the clone stamp tool, it’s important to use a small brush size and work slowly for a natural look.
Softening Skin
As mentioned earlier, over-smoothing skin can result in an unnatural and plastic-like appearance. However, there are advanced techniques that can be used to soften skin while still maintaining a natural look.
The first technique is to use the frequency separation method mentioned above. By working on the low-frequency layer, you can even out skin tones and create a smoother overall look without affecting the texture of the skin.
Another technique is to use the blur tool with a low strength and work on areas that need to be softened, such as wrinkles or pores. This will help to smooth out any uneven skin tone or textures without completely eliminating them.
Enhancing Details and Textures
To create a visually appealing image, it’s important to enhance details and textures. This can range from adding definition to hair and eyes to bringing out intricate patterns and textures in an image.
Sharpening Details
The sharpen tool can be used to enhance details by increasing contrast and clarifying edges. It’s especially useful for portraits where you want to bring out the details in someone’s face, such as their eyes, eyebrows, or lips.
When using the sharpen tool, make sure to use a small brush size and work slowly to avoid over-sharpening and creating a harsh effect. You can also adjust the opacity of the layer to achieve a more subtle result.
Adding Texture
Texture overlays are a popular technique used by photographers and graphic designers to add interest and depth to an image. They can be used to add a subtle grainy effect or to create a more dramatic look.
To add a texture overlay, follow these steps:
- Open the image you want to edit and the texture overlay in Photoshop.
- Drag the texture overlay onto your image and resize it to fit.
- Change the blending mode of the texture layer to “overlay.”
- Adjust the opacity of the layer as needed.
- Use a layer mask and a soft brush to remove any unwanted texture from specific areas.
Color Correction and Manipulation
Color plays a crucial role in how an image is perceived. It can evoke emotions, set a mood, and even change the overall feel of a photo. Advanced retouching techniques allow for more control over color correction and manipulation, resulting in a more impactful image.
Histogram Adjustment
The histogram is a chart that represents the distribution of tones in an image. It’s a useful tool for identifying any imbalances in exposure and color. By making adjustments to the histogram, you can correct these imbalances and improve the overall appearance of an image.
To use the histogram for color correction, follow these steps:
- Go to Image > Adjustments > Levels.
- In the levels dialog box, you will see a histogram representing the light and dark tones in your image.
- Move the sliders to adjust the black and white points until the histogram is evenly distributed.
- Make sure to check the preview box to see the changes in real-time.
- Click OK when you’re satisfied with the result.
Using Color Grading
Another way to manipulate color in an image is through color grading. Color grading involves altering the colors and tones of an image to create a certain look or feel. This technique is often used in film and photography to create a consistent and stylized look.
In Photoshop, there are multiple ways to achieve color grading, such as using adjustment layers, curves, and color balance. The key is to experiment with different techniques and find what works best for your specific image.
Creating Artistic Effects
Advanced retouching techniques can also be used to create artistic effects in images. These techniques allow for more creative expression and can turn a simple photo into a work of art.
Adding Bokeh
Bokeh is a popular effect in photography that involves creating a soft and out-of-focus background. This effect can be achieved by using a wide aperture or through post-processing techniques in Photoshop.
To add bokeh to an image, follow these steps:
- Open your image in Photoshop.
- Duplicate the background layer and name it “blur.”
- Go to Filter > Blur > Gaussian Blur.
- Adjust the radius until the background appears blurry.
- Use a layer mask and a soft brush to remove any blurring from the subject.
- Change the blending mode of the “blur” layer to “screen” or “lighten” to create a more subtle effect.
- Adjust the opacity as needed.
Creating Double Exposure
Double exposure is a technique that involves combining two or more images to create a unique and surreal effect. While this technique can be done in-camera, it can also be achieved in Photoshop by using blending modes and layer masks.
To create a double exposure effect in Photoshop, follow these steps:
- Open your main image and the secondary image in Photoshop.
- Copy and paste the secondary image onto the main image.
- Change the blending mode of the secondary image layer to “screen” or “lighten.”
- Use a layer mask and a soft brush to remove any unwanted parts of the secondary image.
- Adjust the opacity as needed.
Conclusion and Final Tips
Advanced retouching techniques in Photoshop can help take your photos to the next level and allow for more creative expression. However, it’s important to remember that these techniques should be used in moderation and with caution. It’s easy to get carried away and end up with an unnatural-looking photo.
Practice makes perfect when it comes to advanced retouching, so don’t be afraid to experiment and try new techniques. And always pay attention to details and textures in your images, as they can make a big difference in the final result.
With these advanced retouching techniques in your arsenal, you can elevate your photo editing skills and create stunning images that are sure to stand out. So go ahead and give them a try, and watch as your photos reach new heights.
